Viking Battery Charger Manual: An Overview
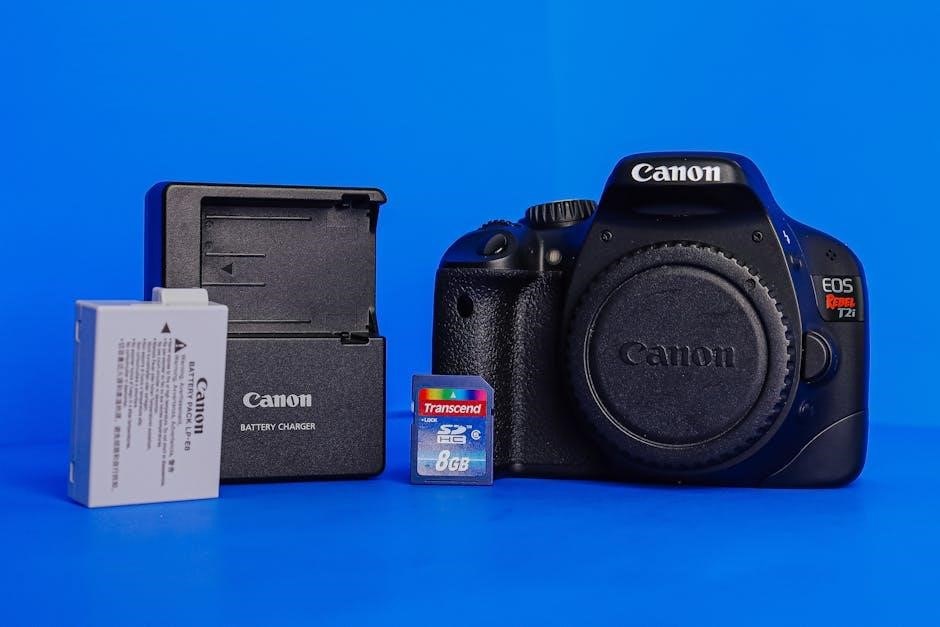
This manual details Viking charger operation, encompassing safety, setup, and troubleshooting. Discussions range from historical re-enactment groups to photographic equipment,
providing a comprehensive guide for optimal battery maintenance and longevity.
Viking chargers represent a commitment to reliable power solutions, mirroring the durability associated with Viking heritage – a theme echoed in discussions of historical re-enactment groups like Hallam. These chargers are engineered for diverse battery types, from lead-acid to AGM and Gel, ensuring optimal performance. Like finding historical evidence in placenames, Viking chargers deliver consistent results.
Whether for automotive, marine, or recreational use, Viking provides robust charging technology; Considered alongside photographic pursuits and archaeological finds, Viking chargers offer a blend of power and dependability.
Understanding Battery Charger Types
Battery chargers vary significantly in functionality, much like the diverse topics discussed online – from classical music advertisements to photographic equipment debates. Traditional chargers offer basic charging, while smart chargers utilize advanced algorithms for optimized performance. Similar to identifying Viking origins in placenames, understanding charger types requires discernment.
Viking offers options catering to different needs, including standard, fast, and maintenance modes. Choosing the right charger, like selecting appropriate gear for sub-zero photography, is crucial for battery health and longevity.

Viking Battery Charger Models
Viking offers a range of chargers, mirroring the variety of online discussions – from archaeology to photography. Key models include the 12V, 6V, and Smart Charger series, each designed for specific applications.
Viking Power 12V Charger
The Viking Power 12V charger is a versatile solution for maintaining 12-volt lead-acid, AGM, and gel batteries; Like discussions spanning Sheffield history and photographic gear, this charger offers broad compatibility. It features multiple charging stages – bulk, absorption, and float – to optimize battery health. Its robust design ensures reliable performance, mirroring the durability of historical Viking settlements. This model is ideal for automotive, marine, and recreational vehicle applications, providing a consistent and safe charge. It includes short-circuit and reverse polarity protection, enhancing user safety and preventing damage.
Viking Power 6V Charger
Designed for 6-volt batteries, the Viking Power 6V charger is perfect for classic cars, motorcycles, and other vintage applications. Similar to the diverse topics online – from music ads to reservoir names – this charger caters to specific needs. It employs a controlled charging process, preventing overcharging and extending battery life. Its compact size allows for easy storage, much like archiving Sheffield Star articles. Featuring automatic shut-off and reverse polarity protection, it ensures safe and convenient operation. This charger delivers a consistent and reliable charge, restoring and maintaining optimal battery performance.
Viking Smart Charger Series
The Viking Smart Charger Series represents a leap in battery charging technology, offering advanced features for modern battery maintenance. Like discussions on Fujifilm cameras and cold-weather photography, these chargers address specific user challenges. Equipped with microprocessors, they analyze battery condition and adjust charging parameters accordingly. This series boasts multiple charging modes, including trickle, fast charge, and maintenance. Featuring a digital display, users can monitor voltage, current, and charging status. Built-in safety features protect against overcharging, short circuits, and reverse polarity, ensuring reliable and safe operation.
Safety Precautions
Prioritize safety when using the Viking charger; heed all warnings to prevent electrical hazards and battery damage, similar to careful photographic excursions.
General Safety Guidelines
Always inspect the charger and battery cables for damage before each use. Do not operate the charger in wet or damp environments, as this presents a significant electrical shock risk. Ensure adequate ventilation around the charger during operation to prevent overheating. Never attempt to modify the charger in any way, as this could compromise its safety features and void the warranty. Keep the charger out of reach of children and unauthorized personnel. Disconnect the charger from the power source before connecting or disconnecting the battery.
Avoiding Electrical Hazards
To minimize electrical shock risk, never operate the charger with a damaged cord or plug. Avoid using extension cords unless absolutely necessary, and ensure they are properly rated for the charger’s power requirements. Do not expose the charger to rain or moisture. Always disconnect the charger from the power outlet before attempting any maintenance or cleaning. Never touch the charger’s terminals while it is connected to a power source. If the charger malfunctions, discontinue use immediately and consult a qualified technician.
Battery Safety Considerations
Batteries can release explosive gases; ensure adequate ventilation during charging. Avoid short-circuiting the battery terminals, as this can cause sparks and potential fire hazards. Always wear appropriate eye protection when working near batteries. Handle batteries with care to prevent damage or leakage. Dispose of old batteries responsibly, following local regulations. Never charge a frozen battery. Inspect batteries for cracks or leaks before charging, and do not charge damaged batteries. Keep batteries out of reach of children.
Setting Up Your Viking Charger
Proper setup involves connecting the charger to a power source and the battery itself. Careful attention to polarity – positive and negative – is crucial for safe operation.
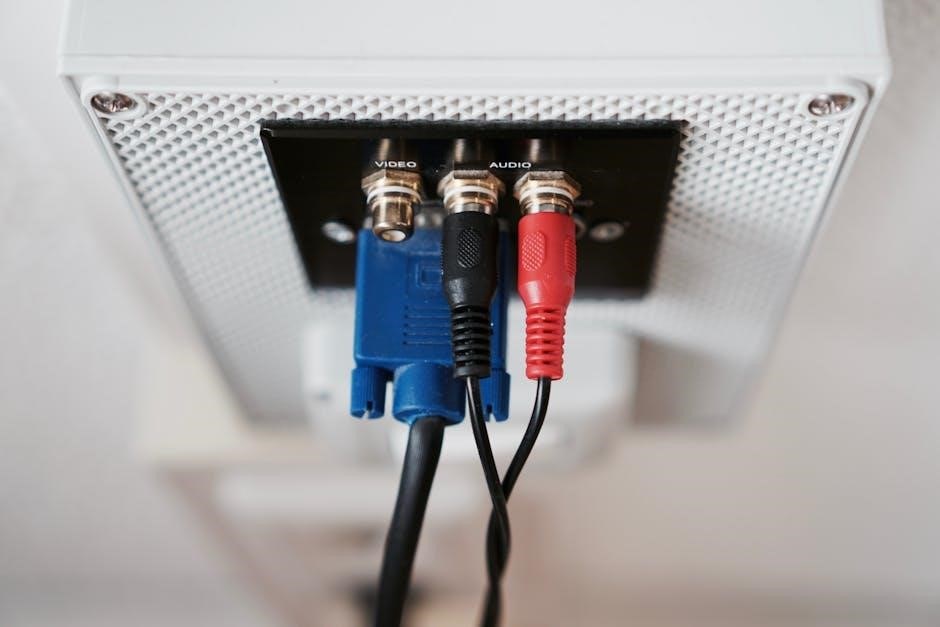
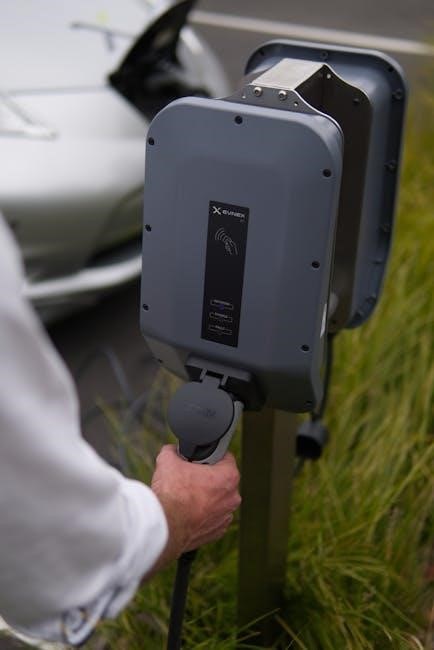
Connecting to a Power Source
Before connecting your Viking charger, ensure the power outlet is grounded and meets the charger’s voltage requirements. Verify the outlet is functioning correctly, potentially using a different device to test it.
Connect the charger’s power cord securely into the outlet, avoiding loose connections.
Do not use extension cords unless absolutely necessary, and if used, ensure they are heavy-duty and properly grounded.
Always disconnect the charger from the power source before making any battery connections, prioritizing safety during setup. Remember discussions about historical sites and photography don’t relate to this step!
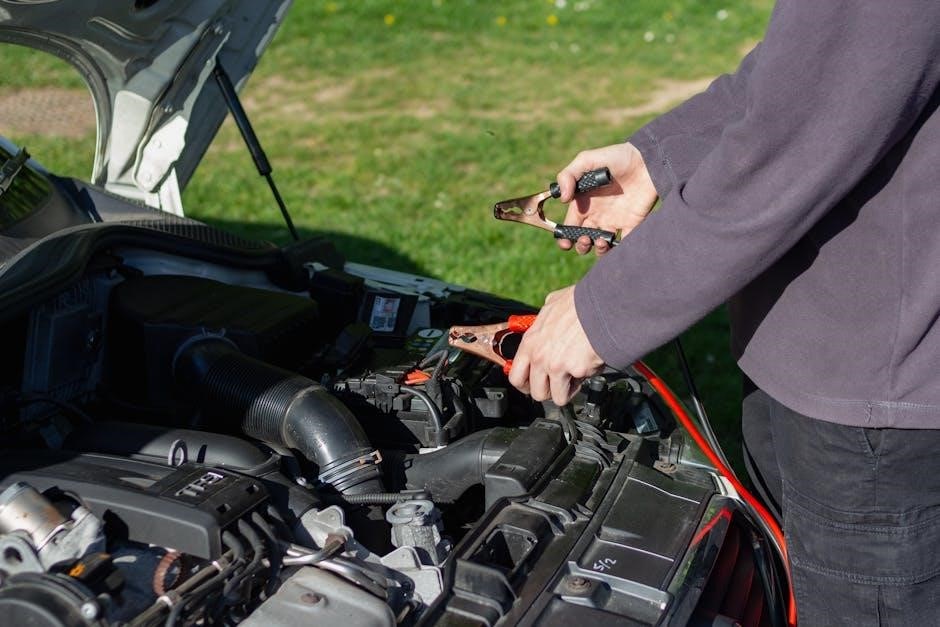
Connecting to the Battery
After disconnecting the charger from the power source, connect the charger clips to the battery terminals. Red clip to positive (+), and black clip to negative (-). Double-check polarity before proceeding; reversed polarity can damage both the charger and the battery.
Ensure the clips make firm contact with the terminals, free from corrosion or debris.
Avoid creating sparks during connection, and never connect to a frozen battery. Remember, discussions about re-enactment groups or camera settings are irrelevant here!
Polarity Identification (Positive & Negative)
Correct polarity is crucial for safe and effective charging. The positive (+) terminal is typically marked with a plus sign, often red in color. The negative (-) terminal is marked with a minus sign, usually black. Always verify these markings on both the battery and the charger cables.
Incorrect connection can lead to irreversible battery damage and potential hazards. Do not rely on memory; always visually confirm before connecting. Ignore references to historical events or photographic equipment.
Charging Procedures
Follow these steps for optimal charging: Select the appropriate mode, connect securely, and monitor the charging process. Avoid distractions during operation.
Standard Charging Mode
This mode is ideal for routinely replenishing battery power. Begin by ensuring the battery is properly connected, observing correct polarity. The Viking charger will automatically initiate a multi-stage charging cycle, transitioning from bulk charge to absorption, then float.
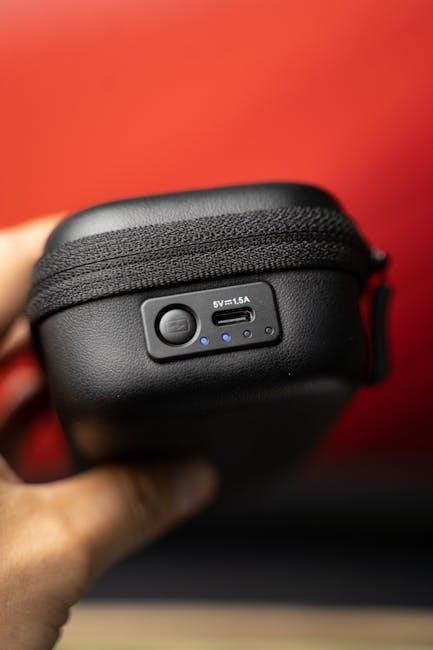
Monitor the charger’s indicators – LED lights or a digital display – to track progress. Charging time varies based on battery capacity and discharge level.
Avoid interrupting the cycle unless absolutely necessary. This ensures a full and optimized charge, maximizing battery lifespan and performance, similar to maintaining historical artifacts.
Fast Charging Mode (If Applicable)
If your Viking charger features a fast charging mode, it delivers a higher current for quicker battery replenishment. However, use this mode cautiously, as it can generate more heat. Ensure adequate ventilation around the charger during operation.
Monitor the battery closely, and avoid prolonged fast charging, as it may reduce battery lifespan.
This mode is best suited for situations requiring a rapid power boost, much like quickly preparing for an event, but prioritize battery health for long-term reliability.
Maintenance Charging Mode
Viking chargers often include a maintenance or float charging mode, designed for long-term battery storage. This mode delivers a low, consistent current to counteract self-discharge, keeping the battery fully charged without overcharging. It’s ideal for seasonal equipment or batteries not in frequent use, similar to preserving historical artifacts.
Regularly check connections and ensure the charger remains powered on. This extends battery life and ensures readiness when needed, preventing unexpected power loss.

Troubleshooting Common Issues
Addressing charger malfunctions is crucial. Common problems include power failures, charging difficulties, and error codes – akin to deciphering historical clues for effective resolution.
Charger Not Turning On
If the Viking charger fails to power on, begin with basic checks. Ensure the power cord is securely connected to both the charger and a functioning power outlet – much like verifying connections in historical records.
Inspect the fuse for any signs of damage or breakage; a blown fuse is a frequent culprit.
Confirm the power switch is fully engaged.
If these steps don’t resolve the issue,
consider testing the outlet with another device to rule out an electrical problem.
A complete lack of response may indicate an internal fault requiring professional service.
Battery Not Charging
If the Viking charger appears active but the battery isn’t gaining charge, several factors could be at play. First, meticulously verify the polarity of the connections – positive to positive, negative to negative – mirroring the precision needed in archaeological digs.
Ensure the battery terminals are clean and free of corrosion.
Confirm the charger’s selected voltage matches the battery’s requirements.
A faulty battery itself could also be the issue; testing with a voltmeter is recommended.
If problems persist, consult the troubleshooting section for error codes.
Error Codes and Their Meanings
Viking chargers utilize error codes to diagnose issues, much like identifying historical artifacts. Code E1 indicates a reversed polarity connection, demanding immediate correction to prevent damage. E2 signals an overvoltage situation, potentially due to an incorrect charger setting. E3 denotes a short circuit, requiring disconnection and inspection of both battery and cables.
E4 suggests a battery sulfation issue, potentially needing desulfation mode (if equipped).
Always refer to the full error code list in the appendix for comprehensive details.
Understanding Charger Indicators
Viking chargers employ LEDs, digital displays, and audible alerts to communicate charging status. These indicators, like historical signals, provide crucial feedback during operation.
LED Indicator Lights
Viking battery chargers utilize a multi-color LED system for clear status indication. A solid green light typically signifies a fully charged battery, ready for use or maintenance mode. A flashing amber light indicates the charging process is actively underway, with the flash rate potentially reflecting charge level.
A solid red light usually signals a fault condition, such as reversed polarity or a damaged battery. Refer to the troubleshooting section for specific error codes. A blinking red light may indicate a low voltage situation or a battery that isn’t accepting a charge. Understanding these visual cues is vital for safe and effective operation, much like interpreting signals from historical events.
Digital Display Readings
Viking smart chargers feature a digital display providing precise charging information. Voltage readings indicate the battery’s current state, crucial for assessing health and compatibility. Amperage displays show the charging current, influencing charge time – higher amperage means faster charging, within safe limits.
Percentage indicators display the battery’s charge level, offering a quick visual assessment. Error codes, displayed as alphanumeric sequences, pinpoint specific issues. Like deciphering historical records, understanding these readings ensures optimal performance and prevents damage, mirroring the precision needed in archaeological digs.
Audible Alerts
Viking chargers utilize audible alerts to signal important events. A single beep often confirms a button press or mode selection, providing user feedback. Continuous beeping typically indicates an error condition, demanding immediate attention – much like an urgent message from a historical re-enactment group.
Distinct alert patterns differentiate error types, guiding troubleshooting. A rapid series of beeps might signal reversed polarity, while a slower rhythm could indicate a faulty battery. These alerts, similar to a musical cue in a classical compilation, ensure you’re promptly informed of any issues during the charging process.
Battery Types and Compatibility
Viking chargers support lead-acid, AGM, and gel batteries. Compatibility ensures optimal charging, mirroring the diverse needs of photographic equipment and historical pursuits.
Lead-Acid Batteries
Lead-acid batteries are a common and cost-effective power source, frequently utilized in various applications. Viking chargers are fully compatible with flooded lead-acid batteries, offering standard and maintenance charging modes. Ensure proper ventilation during charging as these batteries can release hydrogen gas.
Regularly check electrolyte levels and maintain cleanliness around terminals for optimal performance. Avoid deep discharging to prolong battery lifespan, mirroring the careful preservation of historical artifacts.
The charger automatically adjusts to provide the correct voltage and current for safe and efficient charging.
AGM Batteries
Absorbent Glass Mat (AGM) batteries are sealed and maintenance-free, offering superior performance and safety. Viking chargers feature a dedicated AGM charging profile, optimizing charge cycles for these batteries. Unlike flooded lead-acid, AGM batteries don’t require electrolyte level checks, simplifying maintenance.
They are spill-proof and vibration-resistant, ideal for diverse applications. Avoid exceeding the recommended charging voltage to prevent damage, much like preserving delicate historical items. The charger’s intelligent algorithms ensure optimal charging without overcharging.
Gel Batteries
Gel batteries, another sealed lead-acid type, utilize a gelled electrolyte, making them exceptionally leak-proof and suitable for extreme conditions. Viking chargers provide a specific Gel charging mode, delivering a lower voltage to prevent gelling issues. Overcharging can permanently damage Gel batteries, so precise voltage control is crucial.
Like preserving historical artifacts, careful handling is key. Ensure the charger’s Gel setting is selected before connecting to avoid irreversible harm. They offer excellent deep-cycle capabilities and longevity.
Charger Specifications
Viking chargers boast varied voltage and current outputs, tailored for diverse battery capacities. Detailed specifications, including charging capacity, are listed within this manual for optimal performance.
Voltage Output
Viking battery chargers are engineered to deliver precise and stable voltage outputs, crucial for efficient and safe battery charging. The specific voltage range varies depending on the model – 6V, 12V, and smart chargers offering automatic voltage detection. Maintaining the correct voltage is paramount to prevent undercharging or overcharging, both of which can significantly reduce battery lifespan. Refer to the model-specific section within this manual to determine the appropriate voltage setting for your battery type. Incorrect voltage selection can void the warranty and potentially damage the battery or charger.
Current Output
Viking battery chargers feature adjustable current output settings, allowing users to tailor the charging process to their battery’s specific needs. Higher amperage (current) provides faster charging, but exceeding the battery’s capacity can cause overheating and damage. Lower amperage offers a gentler, slower charge, ideal for maintenance or deeply discharged batteries. The manual details the current output range for each model, ensuring optimal charging performance. Always consult your battery’s specifications before selecting a current output level. Proper current control extends battery life and prevents potential hazards.
Charging Capacity
Viking chargers demonstrate varying charging capacities, dictated by their design and intended battery types. Capacity refers to the maximum amount of charge a charger can deliver, measured in Ampere-hours (Ah). Selecting a charger with sufficient capacity is crucial for efficiently replenishing a battery’s energy. The manual specifies each model’s maximum Ah capacity, guiding users toward appropriate pairings. Overloading a charger beyond its capacity can lead to overheating and reduced lifespan. Understanding charging capacity ensures safe and effective battery maintenance, maximizing performance and longevity.

Maintenance and Care
Regular cleaning, proper storage, and timely fuse replacement are vital for maintaining your Viking charger’s performance and extending its operational lifespan effectively.
Cleaning the Charger
To ensure optimal performance and longevity of your Viking battery charger, regular cleaning is essential. Always disconnect the charger from both the power source and the battery before commencing any cleaning procedures. Use a soft, dry cloth to wipe down the exterior casing, removing any dust or debris that may have accumulated.
Avoid using water or any cleaning solvents, as these could damage the internal components. For stubborn dirt, a slightly damp cloth may be used, but ensure it is thoroughly wrung out and the charger is completely dry before reconnecting it. Inspect the charging cables and connectors for any signs of damage and clean them gently with a dry cloth if necessary.
Storage Guidelines
Proper storage is crucial for maintaining the functionality of your Viking battery charger. Before storing, ensure the unit is completely clean and dry, as detailed in the cleaning section. Store the charger in a cool, dry environment, away from direct sunlight, extreme temperatures, and moisture.
Avoid storing the charger in areas with high humidity or dust levels. It’s best to keep it in its original packaging, if available, or a protective bag. Periodically check the charger if it’s stored for an extended period to ensure no corrosion or damage has occurred.
Fuse Replacement
If your Viking battery charger stops functioning, a blown fuse may be the cause. Always disconnect the charger from both the power source and the battery before attempting fuse replacement. Locate the fuse holder, typically found near the power input.
Use only a replacement fuse with the exact same amperage and type as specified on the charger’s label. Gently remove the blown fuse and insert the new one securely. Incorrect fuse replacement can cause damage or create a safety hazard. If the new fuse blows immediately, discontinue use and seek professional assistance.
Advanced Features (If Applicable)
Some Viking chargers offer temperature compensation, automatic voltage detection, and desulfation modes for enhanced battery recovery and optimized charging performance.
Temperature Compensation
Viking chargers with temperature compensation dynamically adjust the charging voltage based on ambient temperature. This feature is crucial because battery performance is significantly affected by heat and cold;
In colder temperatures, batteries accept charge less efficiently; the charger increases voltage to compensate. Conversely, in warmer conditions, the voltage is reduced to prevent overcharging and potential damage.
This intelligent adaptation ensures optimal charging across a wide range of environments, extending battery life and maintaining peak performance, mirroring the adaptability seen in historical Viking endeavors.
Automatic Voltage Detection
Viking chargers featuring automatic voltage detection simplify the charging process by identifying the battery system voltage – typically 6V or 12V – without manual selection. This eliminates the risk of incorrect voltage settings, which could damage the battery or the charger itself.
Upon connection, the charger intelligently assesses the battery’s voltage and configures itself accordingly. This ‘plug-and-play’ functionality is particularly beneficial for users unfamiliar with battery charging specifics, much like easily adapting to new photographic equipment.
It ensures a safe and efficient charge every time.
Desulfation Mode
Certain Viking smart chargers incorporate a desulfation mode designed to recover batteries exhibiting sulfation – a buildup of lead sulfate crystals that reduces battery capacity and performance. This process applies a controlled, high-frequency current to break down these crystals, restoring the battery’s ability to accept and hold a charge.
While not always successful, desulfation can extend the life of neglected or infrequently used batteries, similar to restoring historical artifacts. The process is typically automated and indicated by a specific LED or display message.
It’s a valuable feature for maintaining battery health.
Warranty Information
Viking chargers are covered by a limited warranty against defects in materials and workmanship. Coverage details, claim processes, and contact information are outlined within this manual.
Coverage Details
The Viking battery charger warranty extends to one year from the original purchase date, safeguarding against manufacturing flaws and component failures under normal usage. This warranty encompasses repair or replacement of the defective unit, at Viking’s discretion. It does not cover damage resulting from misuse, accidents, unauthorized modifications, or acts of nature. Evidence of purchase, such as a dated receipt, is required for all warranty claims. The warranty is non-transferable and applies solely to the original purchaser. Coverage is limited to the purchase price of the charger.
Claim Process
To initiate a warranty claim, contact Viking’s customer support team via phone or email, providing your purchase details and a clear description of the issue. You may be asked to provide photographic or video evidence of the defect. If a return is required, Viking will issue a Return Merchandise Authorization (RMA) number and shipping instructions. Returned items must be securely packaged to prevent further damage during transit. Shipping costs for the return are the responsibility of the customer, unless the defect is confirmed to be a manufacturing fault.
Contact Information
For technical support or warranty inquiries, please reach out to Viking’s dedicated customer service team. You can contact us via email at support@vikingchargers.com, or by phone at 1-800-VIKING-PWR (1-800-845-4647) during business hours, Monday to Friday, 9 AM to 5 PM EST. Our mailing address is Viking Chargers, 123 Main Street, Anytown, USA 54321. Please visit our website at www.vikingchargers.com for FAQs, troubleshooting guides, and product registration. We value your feedback!